It is compulsory for stitches to know some hand stitching because regular sewing machines cannot be used always in your sewing projects, and often you have to do some hand stitching. For this, slip stitch is perhaps the most crucial stitch that you must know.
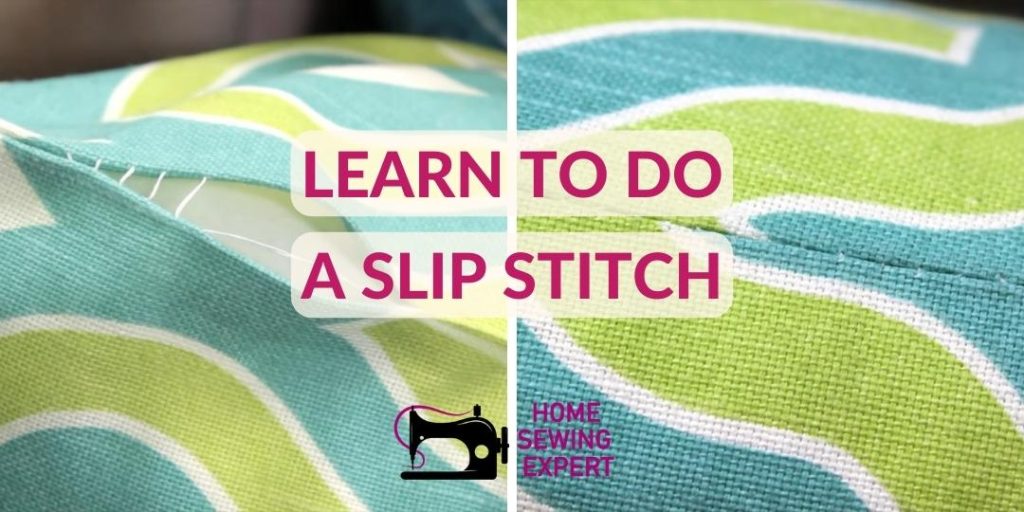
Slip stitch is also known as a blind stitch, invisible stitch, and ladder stitch. This is because the slip stitch is invisible from both sides of a fabric or fabric. This stitch comes in handy, especially when you are closing small openings in your project that you cannot do otherwise with a machine.
For example, if you are sewing a pillow and need to close the opening of the pillow from where you stuffed in pillow fillings, then there is no option better than slip stitch.
Things you need
To start, all that you need is a threaded needle and an opened cavity of your project. For this practice, I will be stitching a cushion that I made.
Stepwise procedure to do a perfect slip stitch
Step 1. Preparing the Seams
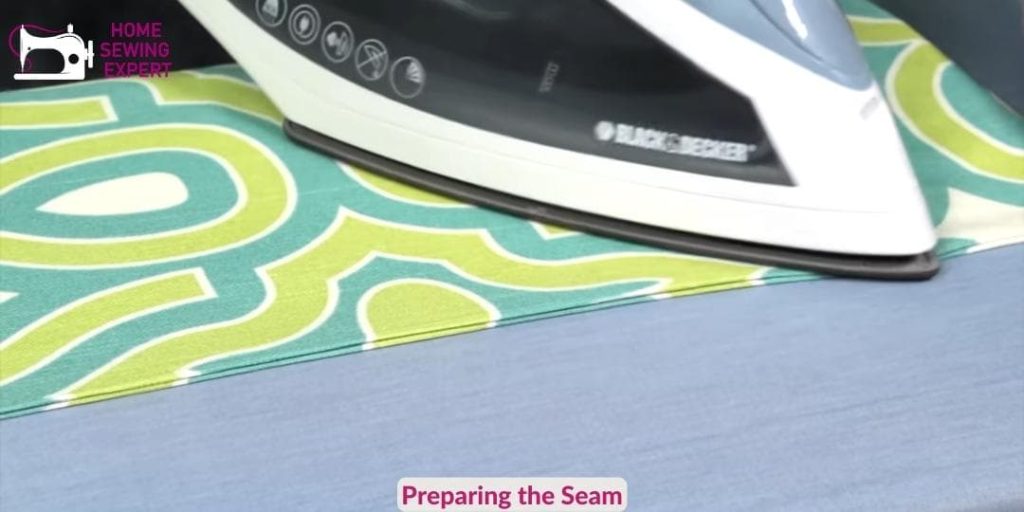
Preparing the seams of the cushion by steam ironing the bent seam allowance to make a clear crease out of the seam.
Step 2. Preparing threaded needle
Now take a threaded needle and tie a known at the loose end of the thread. Make sure that the color of the thread is lighter than the fabric or at least the same as that of the fabric.
Step 3. Slip stitching
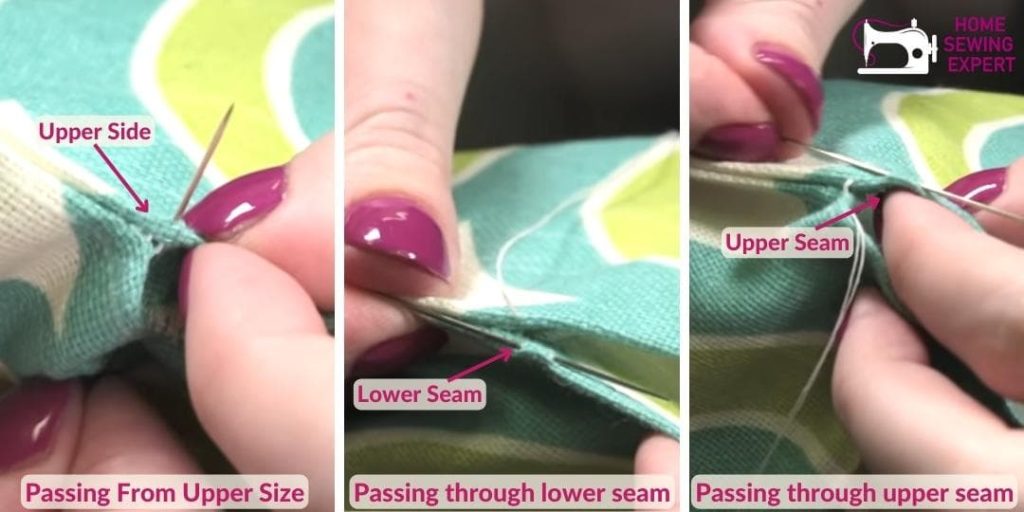
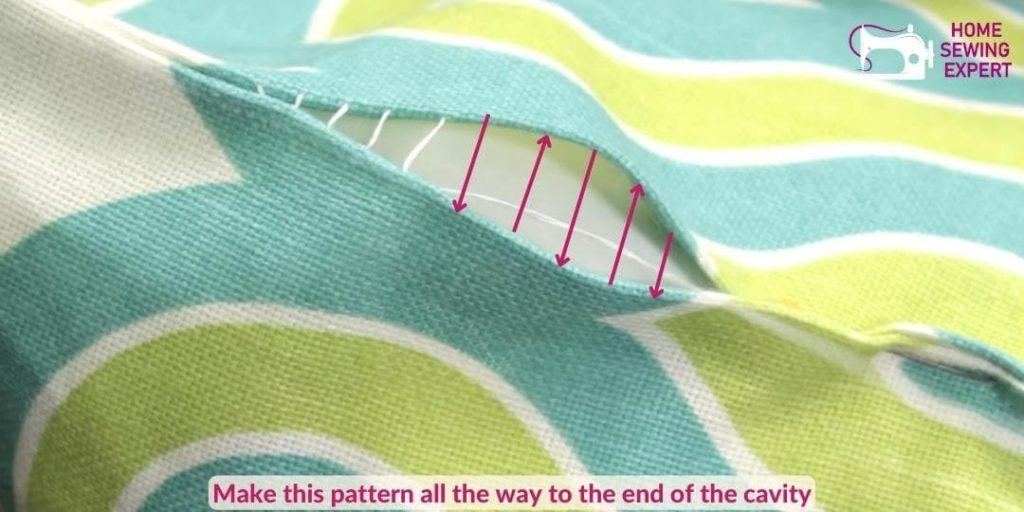
- Then pass the needle from the inner side of one seam through the top of the seam. Make sure that you don’t pass the needle from the other side of the fabric.
- Then pass through the fold of the other seam.
- Keep repeating step 2 on alternate seams until you reach another end of the cavity. Make sure that you tighten the thread after a few stitches to close the fabric behind.
Step 4. Closing the slip stitch
- Now to make a closing knot, pass the thread through the minimum possible thread to make a loop.
- Pass the needle through the loop and tighten it.
- You need to make at least two knots in order to secure a knot properly.

Step 5. Hiding the loose thread end of the stitch
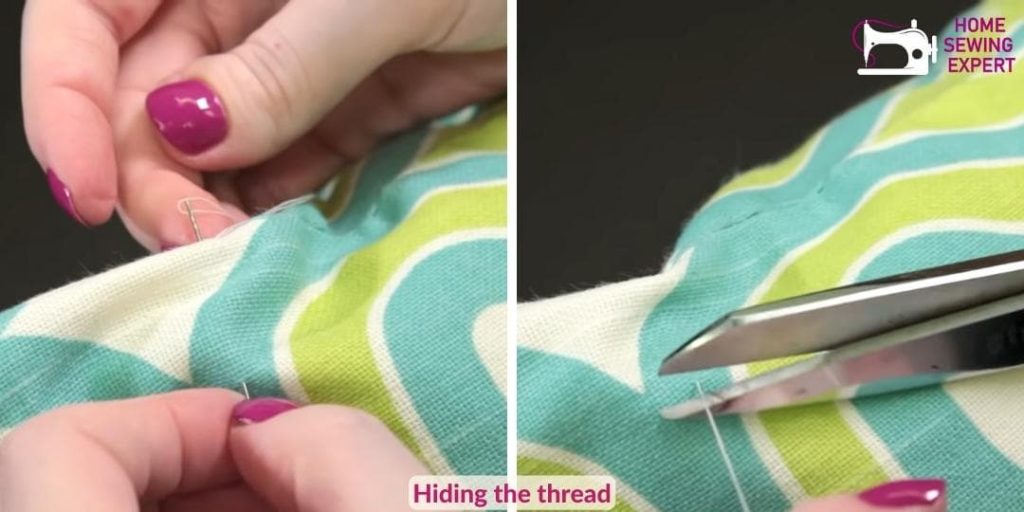
- Now in order to hide the thread end, pass the needle through one of the seamed top to the inside of the cushion and pass the needle out through one side.
- Now cut off the thread and let the loose end of the thread fall inside the cushion.
Result
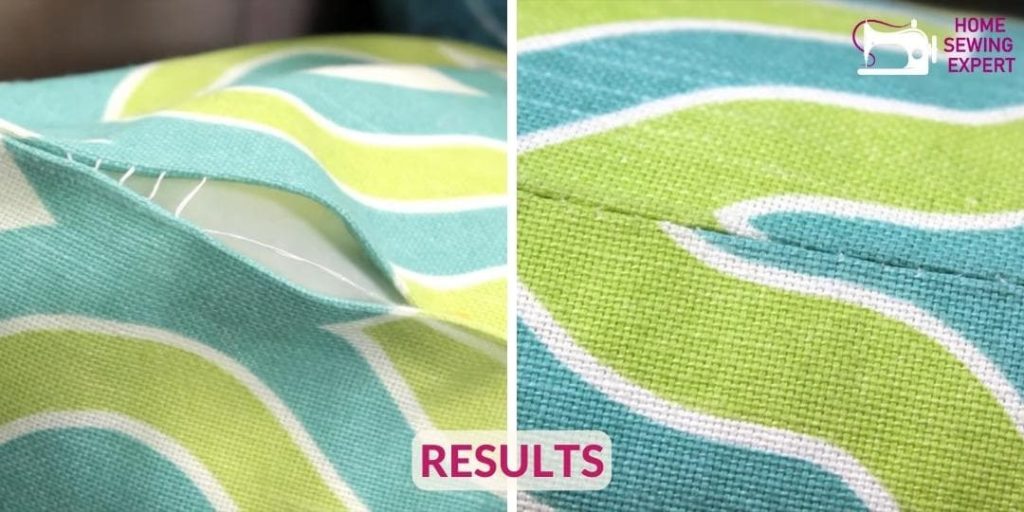
Here is what your pillow will look like after completing a slip stitch.
Concluding Remarks
As you have learned to sew a slip stitch through a practical example, now you can apply this technique in other projects as well whenever you need to make an invisible stitch. Stay tuned and keep sewing with your Home Sewing Expert.

Hello, My name is Malinda Spicer. in my 10th grade, my granny gifted me a mechanical sewing machine. Since then, my whole life revolves around sewing. I made my hobby into a profession by getting a professional degree in fashion designing. I had learned quite well about sewing in the past 20 years. I hope to be of help by sharing these experiences and expert advice with my fellow sewers.

